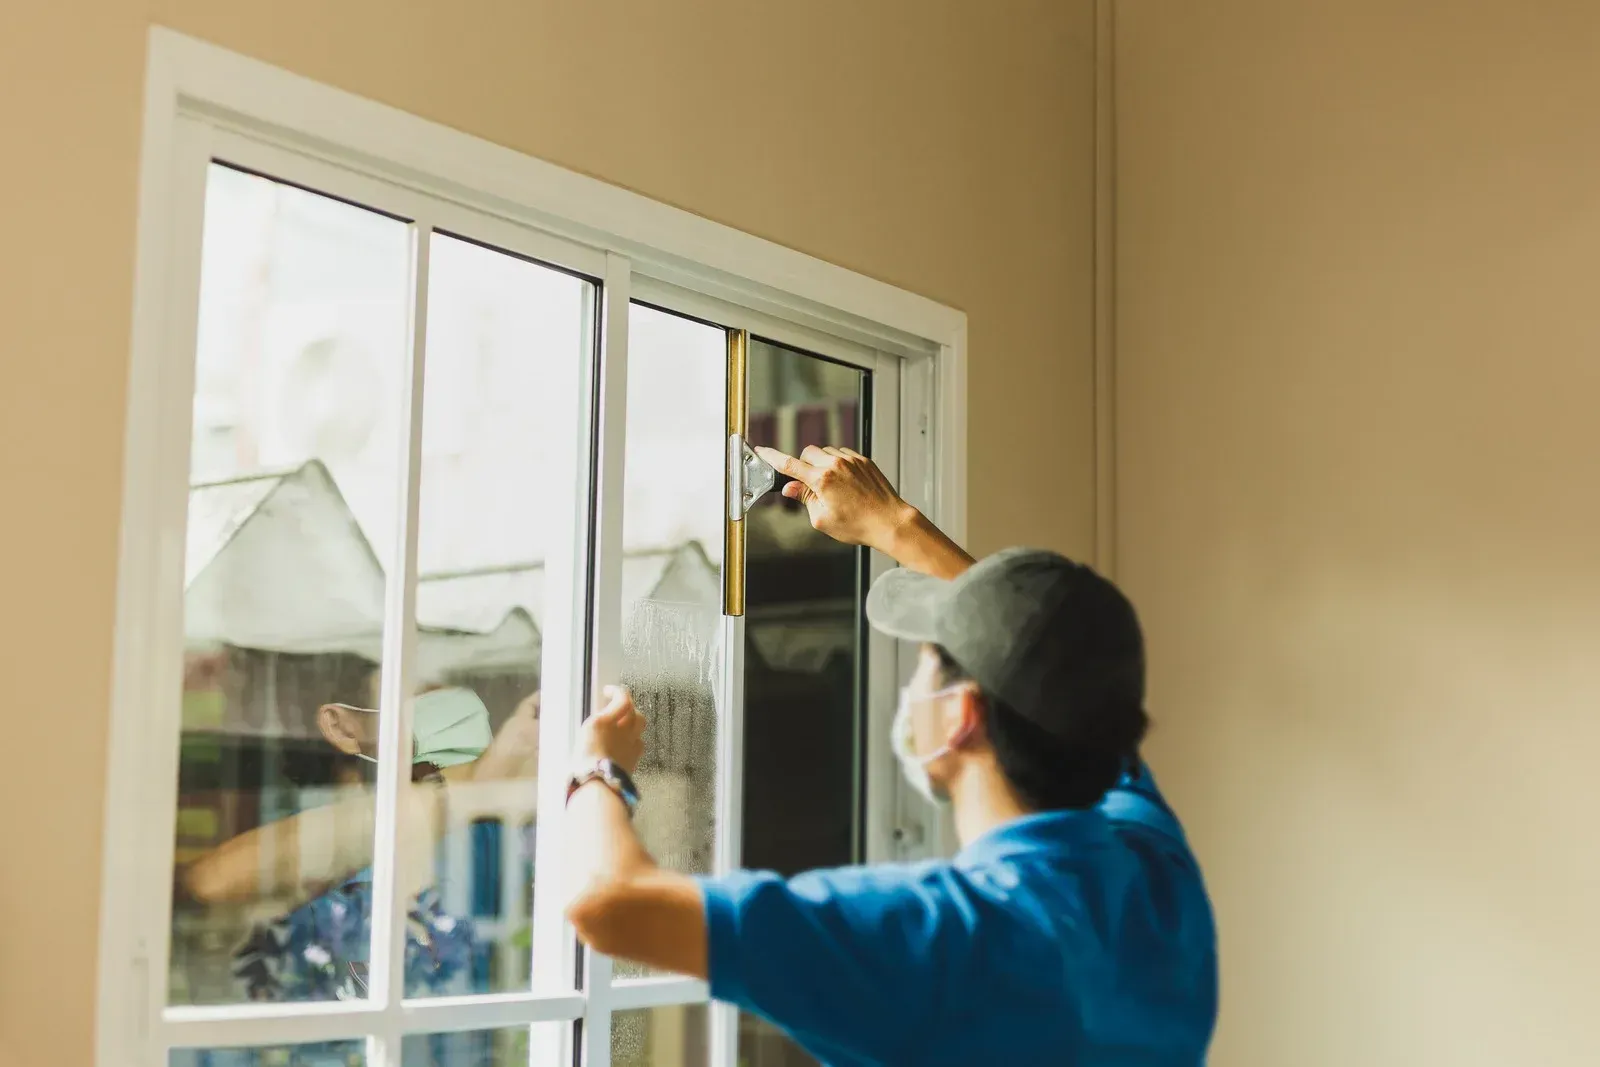
Window screens play a vital role in improving indoor comfort by keeping bugs out, letting fresh air in, and even filtering sunlight. Over time, however, screens can tear, sag, or become discolored, compromising both function and appearance. Whether you’re dealing with a small tear or a frame that’s completely warped, understanding your options for window screen repair and replacement can save you time and money.
Common Window Screen Problems
The most common issues homeowners face with window screens include rips in the mesh, bent frames, and screen detachment. Small tears often happen from pets, children, or accidental impact. Insects can easily enter through these holes, defeating the screen’s primary purpose. Bent or broken frames may prevent the screen from fitting snugly in the window, causing drafts or letting pests sneak in. If screens are old, the mesh can become brittle and fade, affecting visibility and aesthetics.
When to Repair vs. When to Replace
Minor tears or holes, especially those smaller than a dime, can typically be patched using screen repair kits available at most hardware stores. If the frame is still intact and the damage is limited, repair is a good option. However, if the screen is torn in several places, the mesh is heavily worn, or the frame is warped, replacement is more cost-effective and ensures a longer lifespan. Replacing the screen allows for upgrading to more durable or specialized mesh types, such as pet-resistant or solar-blocking screens.
Tools and Materials You’ll Need
For DIY screen repair or replacement, having the right tools is key. You’ll need:
- Screen repair, patches, or replacement mesh
- Spline roller and new spline (rubber cord that holds the mesh in place)
- Flathead screwdriver or pick tool
- Scissors or a utility knife
- Measuring tape
Kits are available that bundle most of these items together, which is helpful for first-timers. Always measure your window frame before purchasing new mesh or spline to ensure a proper fit.
Step-by-Step Screen Replacement
- Remove the Old Screen – Take the screen frame out of the window and place it on a flat surface. Pry out the old spline and remove the damaged mesh.
- Cut the New Mesh – Roll out the new screen material over the frame, leaving a 1-inch margin around the edges.
- Insert the Spline – Starting at a corner, use a spline roller to press the new spline and mesh into the groove around the frame. Keep the screen taut but not overly tight to avoid warping.
- Trim Excess Mesh – Use a utility knife to trim the excess mesh along the outer edge of the spline.
- Reinstall the Screen – Place the frame back into the window and secure it properly.
This process can take 30–60 minutes, depending on your experience and the number of screens.
Benefits of Professional Window Screen Services
While DIY methods are cost-effective for small jobs, professional services offer convenience, speed, and a polished result. Professionals can ensure precise fitting, offer custom mesh options, and handle large-scale replacements efficiently. They also help identify underlying issues with the window frame or screen alignment that homeowners might overlook.
If you’re dealing with damaged or outdated window screens, Tried & True Glass in Denver, CO, offers reliable repair and replacement services backed by 10+ years of hands-on experience. Whether you need a quick fix or a full home upgrade, our team ensures high-quality materials, expert craftsmanship, and prompt service. Don’t let damaged screens reduce your home’s comfort—contact us today to schedule your screen repair or replacement.

